
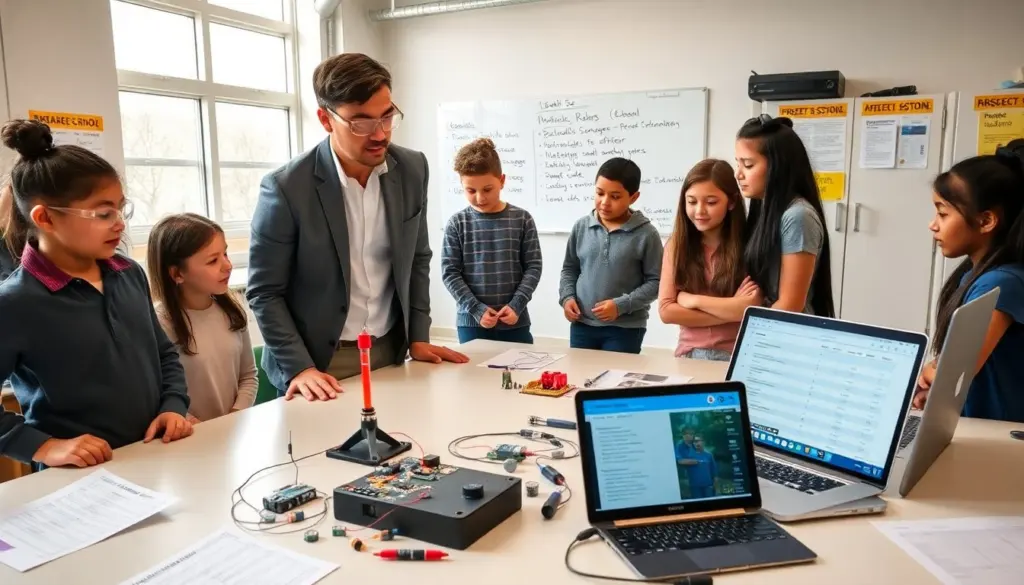
STEM club activities give students practical ways to learn science, technology, engineering, and math. Program leaders can use these activities to spark interest, build skills, and form teams. This article expands on clear goals, planning steps, and ready-to-run ideas so schools and community centers can run richer, more reliable programs. It sets expectations for time, cost, and outcomes, suggests assessment methods, and highlights ways to keep clubs sustainable. Organizers will find age-appropriate project examples, sample meeting flows, supply lists, safety practices, and engagement strategies to measure progress and celebrate student work.
Key Takeaways
- STEM club activities effectively increase student curiosity and hands-on skills in science, technology, engineering, and math.
- Planning a semester with clear timelines, roles, and logistics ensures smooth and consistent STEM club meetings.
- Elementary-friendly projects use simple, low-cost materials and emphasize visual, hands-on learning with reflection to deepen understanding.
- Organizers should prioritize safety by training staff, using proper storage, and conducting safety briefings to protect participants.
- Regular assessments, showcases, and community involvement keep members engaged and foster a supportive STEM learning environment.
Why Start A STEM Club? Goals, Audience, And Learning Outcomes
Teachers and volunteers start STEM club activities to increase curiosity, build transferable skills, and expose students to real-world STEM pathways. Clear goals help shape every meeting: 1) hands-on skill-building (construction, measurement, simple programming), 2) collaborative problem-solving (design cycles, peer critique), and 3) career and identity development (meeting role models, exploring STEM jobs). Choose your audience intentionally: for K–2 focus on sensory experiments and guided play; grades 3–5 can tackle short engineering challenges and introductory coding; middle and high school projects can span multiple weeks and include prototyping or data collection. For each grade band, define 3–6 measurable learning outcomes (for example: explain cause-and-effect in an experiment, design and iterate a model that meets a constraint, or write and debug a short sequence of code). Use short pre- and post-assessments—simple checklists, one-minute reflections, or brief skill demonstrations—to document growth and tailor future STEM club activities to member needs.
How To Plan A Semester Of Meetings: Timeline, Roles, And Logistics
Start by mapping a semester on a single page: number of sessions (e.g., 12 weekly or six biweekly), key milestones (project intro, build phases, testing, and showcase), and blackout dates for holidays. Break each meeting into predictable blocks: 10–15 minutes for warm-up and recap, 30–45 minutes for the main hands-on activity or project work, and 10–15 minutes for cleanup and reflection. Assign clear roles so adults and student leaders know responsibilities: lead facilitator (plans lessons, runs meetings), assistant (manages small groups), materials manager (prepares and returns supplies), safety officer (runs briefings and tracks incidents), and communications lead (family updates, consent forms). Logistics to confirm before week one: indoor/outdoor space and seating, access to power and Wi‑Fi if using devices, storage for ongoing projects, recycling and waste disposal, and arrival/ dismissal routines. Build contingency plans for absences and space conflicts (e.g., grab-and-go kits, alternative indoor activities). Communicate expectations to families with a one-page overview that lists time commitment, behavior guidelines, supply fees (if any), and volunteer opportunities. A consistent timeline and published roles keep STEM club activities organized and reliable across a semester.
Hands‑On Activity Ideas — Elementary‑Friendly Projects
Elementary students respond best to short, visually clear, hands-on STEM club activities that let them test and see immediate results. Below are compact project ideas designed to fit a single meeting or a two-part sequence: 1) Paper bridges: give teams paper, tape, and small weights; test load capacity and iterate designs while practicing measurement and recording results. 2) Baking-soda rockets: small film canister or bottle rockets demonstrate chemical reactions and trajectory—include pre-measured supplies and strict launch zones. 3) LED circuits: use coin cells, LED stickers, and cardboard to draw simple circuits and explore conductivity; offer templates and challenge students to light multiple LEDs. 4) Plant growth investigations: plant beans in cups and vary light or water to teach controlled variables and data logs over several weeks. 5) Cardboard pulley and simple machine builds: let students lift small loads, observe mechanical advantage, and sketch improvements. For each activity, provide a one-page facilitation script with objectives, vocabulary, step-by-step directions, safety notes, and three reflection prompts (What worked? What surprised you? How would you change it?). Use pair or triad groupings for peer support and include extension cards for early finishers to deepen inquiry.
Supplies, Safety, And Budgeting Tips For Schools And Community Centers
Plan supplies with reuse and scalability in mind. Create a master list categorized by activity type: consumables (baking soda, paper, tape), reusable tools (scissors, hot glue guns, multimeters), and tech (tablets, microcontrollers, sensors). Buy multi-use kits or assemble a maker closet so materials can serve multiple projects. Track inventory with a simple spreadsheet that logs quantities, condition, and replacement dates. Set a transparent per-student cost for consumables and offer sliding-scale fees, grant applications, or partner soliciting to reduce barriers. Safety must be explicit: produce a one-page hazard list for each activity, require parent consent where needed, and supply appropriate PPE (safety glasses, gloves, aprons). Train the safety officer and facilitators in basic first aid and tool operation; keep a first-aid kit and emergency contact list onsite. Secure hazardous supplies—solvents, sharp blades, and batteries—in locked storage and label containers clearly. For tools like soldering irons or hot glue guns, create supervised stations with heat mats and cooling time. Regular safety briefings at the start of each term and a quick reminder at each session normalize safe behavior and sustain STEM club activities without incident.
Keeping Members Engaged: Assessment, Showcases, And Community Connections
Engagement grows when members see progress, get recognition, and connect to a larger community. Use formative assessments—skill checklists, one-minute reflections, and photos of work-in-progress—to monitor individual growth and adjust instruction. Schedule a midterm gallery walk where small teams rotate and give positive feedback, and finish the semester with a public showcase where students demo projects, explain design choices, and receive certificates or badges for skills learned. Invite local STEM professionals for short talks, mentorship sessions, or judging panels that provide real-world context and networking. Organize field trips or virtual tours to labs, makerspaces, or college engineering departments when possible. Keep family and community informed through a short monthly newsletter or bulletin board that highlights student work, upcoming themes, and volunteer needs. Offer leadership pathways (materials manager, peer mentor, project captain) to older members to build ownership and continuity. Finally, collect feedback from students and families after each term—simple surveys or focus groups—to learn what activities mattered most and which STEM club activities to expand or refine next semester.