
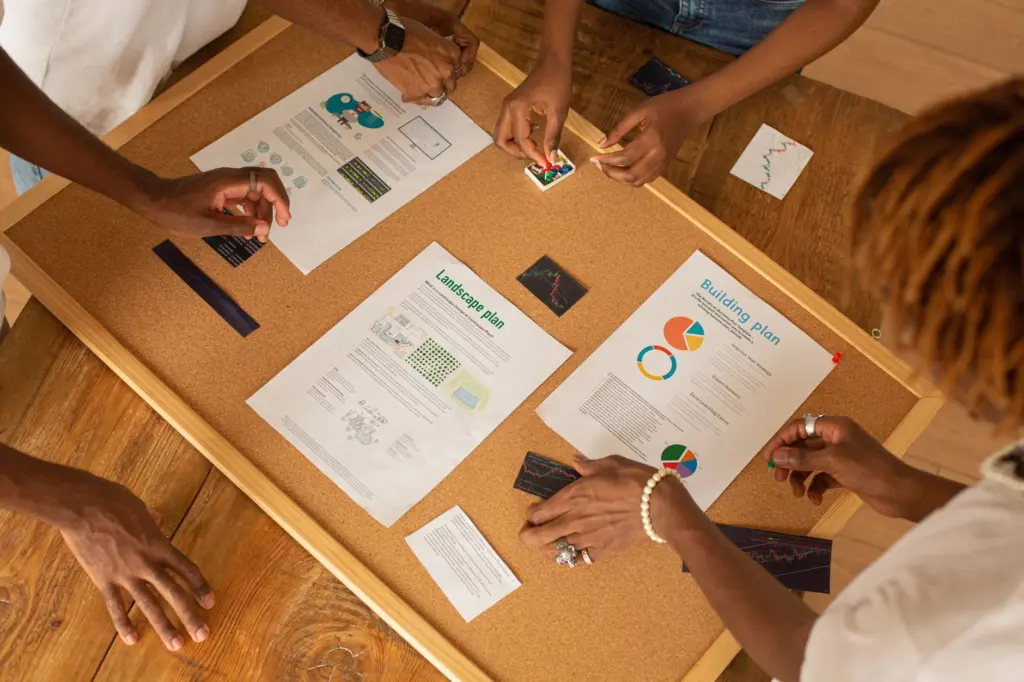
Your experiment is done and the trifold is blank. The best science project board ideas keep the layout simple: sections read left to right in experiment order, the title is bold and readable from a distance, and the data sits in the center.
This page covers the display only. The science fair project steps cover the experiment that fills it. Below, common layout assumptions are corrected one at a time, then the section order, the required content, chart placement, themed ideas and low-cost materials.
Trifold size and panel layout
A standard tri-fold display board measures 36 x 48 inches, and Little Bins for Little Hands notes that this size works for nearly all elementary science fairs. The Royal Store says the same size is preferred because it leaves enough space for every section. The three panels work best as a short story told from left to right:
- Left panel, why you did it. This panel explains why the experiment was done. The question, the hypothesis and the materials go here, and background research fits naturally with the “why”.
- Center panel, what you did. This panel shows what was done: the procedure and the results. Graphs belong here because they show the experimental results, and judges look at this panel first.
- Right panel, what you learned. This panel carries the conclusion. It summarizes the findings and says whether the hypothesis was supported.
Treat the left-to-right story as a rule, not a suggestion. A reader who walks up cold should be able to move across the board without asking where to start.
Layout myths that cost points
Most weak boards come from a handful of assumptions about what judges reward. The table sets each assumption beside what the layout actually needs.
| Common assumption | What the board needs | Planning use |
|---|---|---|
| Decoration earns extra credit | Minimal decoration, because clarity scores higher than creativity; colored paper backing limited to 2-3 colors | Choose the colors before buying paper and spend the saved time on the data |
| A small title is fine | A bold title that is readable from 6 feet away | Print or cut the letters, then step back and test them at that distance |
| Data can go wherever there is space | Graphs in the center panel, where judges look first | Reserve the center for results before placing anything else |
| The hypothesis can stay implied | A visible hypothesis and visible data, since missing either is the most common scoring deduction | Check for both before gluing anything down |
| More text shows more effort | Large, readable fonts and short explanations that stay to the point | Cut each paragraph to the sentences that explain the figure beside it |
The figures and rules above come from Little Bins for Little Hands and STEM in the Middle.
The decoration row deserves the most attention. A student with a themed board and thin data loses to a plain board with a clear hypothesis, a readable chart and a firm conclusion.
Section order checklist
Sections should read left to right in experiment order: Question, Hypothesis, Research, Procedure, Results, Conclusion, according to Little Bins for Little Hands. STEM in the Middle adds a bold title and student information section and a materials section. Use this order as a gluing checklist:
- Title and student information. Make it bold, clear and easy to read from a distance.
- Question. State what the experiment set out to answer.
- Hypothesis. Place it beside the question so the plan is visible early.
- Materials list. Keep it in the left panel with the question and hypothesis.
- Research. Include only the background that explains the hypothesis.
- Procedure. Show what was done, in the order it was done.
- Results. Show the data in charts, graphs or tables.
- Conclusion. Close the board on the right.
Lay every piece out dry on the table before gluing anything. If a section does not fit its panel, shorten the text. Shrinking the font is the wrong fix, because large readable fonts are part of the rule.
What a board must include
A board must include a hypothesis, data, a materials list and a conclusion, and the hypothesis and data matter most. Missing either is the most common scoring deduction, as Little Bins for Little Hands notes.
- Hypothesis. Display it with the expected outcome, based on prior knowledge, as STEM in the Middle advises. A bare guess with no reasoning looks unfinished.
- Materials list. List all materials used in the experiment. Leaving items out makes the procedure harder to follow and hard to repeat.
- Conclusion. Summarize the findings and say whether the hypothesis was supported. An honest “not supported” reads better than a conclusion bent to fit.
Judges usually scan the board first, and they often check the lab notebook to confirm that real testing happened. The board therefore has to carry the result on its own, and the notebook should be on the table beside it.
Charts and results
Results should present data using charts, graphs or tables, and they belong in the center panel. STEM in the Middle gives the first rule, and Little Bins for Little Hands gives the second.
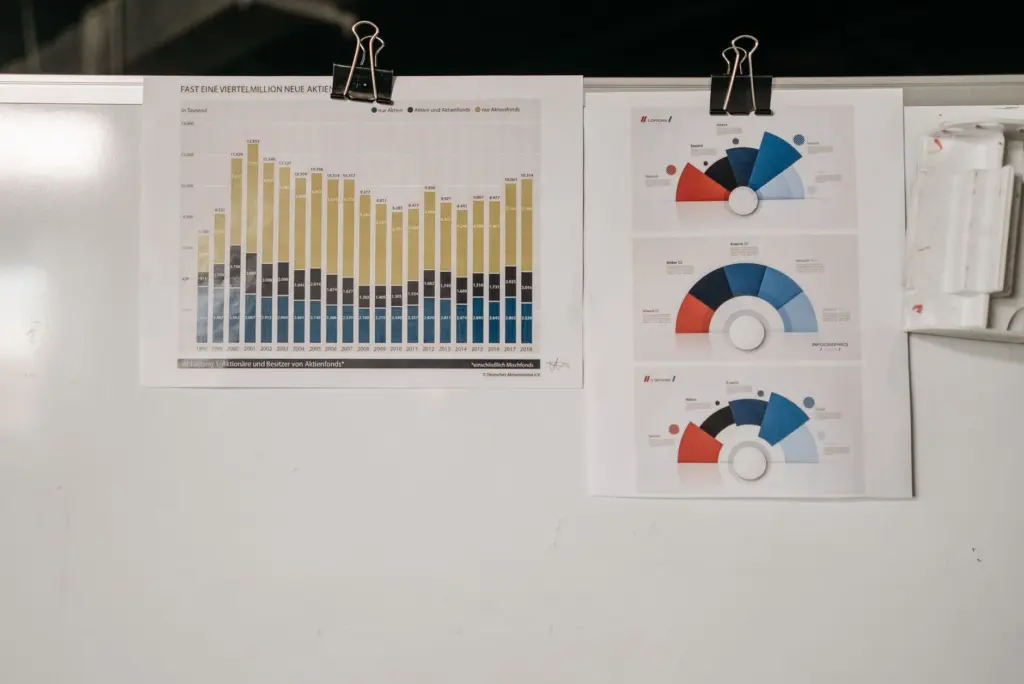
Give each chart one job: show the result the hypothesis predicted or contradicted. Use a short sentence beside it saying what the chart shows, because readers who scan will stop at the chart and skip a paragraph. Printed charts can be mounted on colored backing, or on a white board with binder clips if the fair rules allow loose attachments. That makes it easy to swap a corrected chart late in the process.
Themed display ideas
A theme should support the layout and never replace it. Because clarity scores higher than creativity, themed touches belong in the backing colors, the title lettering and the photos, while the section order stays the same.
- Plants and soil. Use earthy backing paper, keep the growth results in the center panel, and add photos with captions so the procedure is easy to follow.
- Engineering and building. Put a clear photo of the test setup next to the results chart. The procedure then explains itself without long text.
- Health and cleaning. Use a clean, pale backing and let the results chart carry the color. Plain surroundings make the data stand out.
- Physics and motion. Choose one accent color for headings and keep every other element neutral. The measurements stay the focus.
Older students with larger data sets can pair these layouts with the project ideas in High School Science Fair Projects: 25 Creative, High-Scoring Ideas And How To Win In 2026 – Ricecatalyst. Middle school students choosing a topic can start with 8th Grade Science Fair Project Ideas: 12 Easy, High-Impact Experiments for 2026 – Ricecatalyst.
Low-cost board options
A cheap board is a well-organized board, since minimal decoration scores at least as well as an elaborate one, according to Little Bins for Little Hands. That source lists colored paper backing, limited to 2-3 colors, among the basic supplies. Spend on a sturdy board and a clean print, not on extras.
- Print the text and charts. Printed sections glued onto limited-color backing look tidy and cost little. They also fix the large readable font in place.
- Design the layout digitally for free. Creately offers a free plan at $0/month for basic science fair board creation and collaboration. Boards can be exported as PDF, PNG or SVG files for printing and sharing, which suits a team that wants to agree on a layout before buying paper.
- Check smaller multipacks against the fair rules. One Amazon listing shows trifold boards in a multipack at THB 47.28 per board as of 2026-10-24. Board sizes vary, and the standard size is 36 x 48 in, so confirm the allowed size with the organizer first.
- Look for recycled content. Some trifold boards are sold made with recycled materials or FSC-certified wood sources, according to the same listing. They suit students who want a lower-waste board without changing the layout.
Whatever route you choose, dry-fit every printed piece on the board before using glue. A repositioned section costs nothing, but a torn one costs a reprint.
Frequently asked questions
| Question | Answer |
|---|---|
| Is 36 x 48 inches always the right board size? | It is the standard tri-fold size and fits nearly all elementary fairs, but Little Bins for Little Hands says to check the teacher’s rules before buying. |
| Do judges read everything on the board? | Usually not. They scan first, so the title, hypothesis, center-panel data and conclusion must be clear at a glance, according to Little Bins for Little Hands. |
| What file types can a digital board layout be saved as? | Creately exports board layouts as PDF, PNG or SVG files, which can be printed or shared with teammates. |