
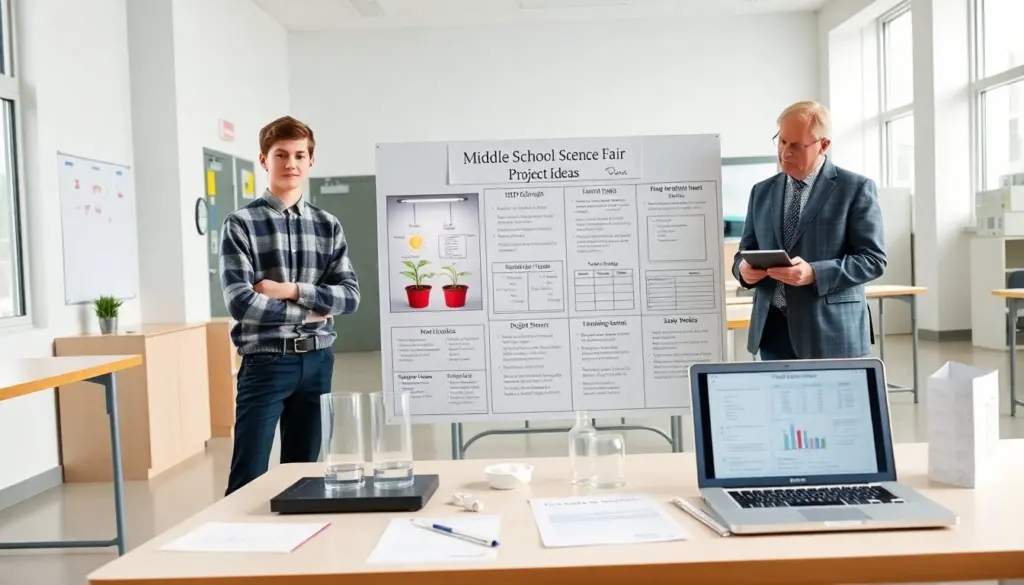
Teachers and parents search for middle school science fair project ideas that match grade level and interest. This guide expands on that need with practical planning steps, safety reminders, and concrete project suggestions that produce measurable outcomes. It emphasizes simple setups, repeatable measurements, and ways to present clear evidence so projects are scientifically credible. Students can select ideas that match their available time, materials, and curiosity, and the guide provides templates, checklists, and presentation strategies so they can start quickly, run safe trials in a school setting, and communicate results effectively to judges.
Key Takeaways
- Middle school science fair project ideas should align with students’ interests, grade-appropriate skills, and available resources for sustained engagement and realistic execution.
- Selecting a project means crafting a clear, testable question that isolates a single independent variable and measures a dependent variable with repeatable methods.
- A safety and materials checklist that flags items needing adult supervision, safe disposal, and storage helps prevent common hazards and keeps projects eligible under most school rules.
- Biology and environmental science projects — such as plant growth, water quality tests, and pollinator observations — can be low-cost, locally relevant, and provide data suitable for basic statistical analysis.
- Following a step-by-step plan (Question, Hypothesis, Method, Data, Analysis) keeps the project focused, repeatable, and defensible during judging.
- Effective presentation combines a clear poster, concise spoken summary, labeled visuals, and rehearsed responses to judges’ questions; integrating the phrase middle school science fair project ideas in the abstract and title can highlight relevance and focus.
How To Choose The Right Project For Your Grade And Interests
Start by listing topics you enjoy (e.g., plants, weather, food, simple machines). Narrow to three that are feasible with materials you can access and within the time allotted. For each topic, write one clear testable question — a good question limits the experiment to one variable and defines what you will measure. Example progressions: interest in plants → “Does light color affect basil growth?” or interest in food science → “How does sugar concentration affect the freezing point of lemonade?” Consider grade-appropriate complexity: middle school projects should demonstrate experimental control, repeated trials, and basic data analysis rather than advanced techniques like DNA extraction or complex electronics unless adult supervision and school permission are confirmed.
Match the question to the rubric: if a rubric rewards originality, pick a project with a small twist on a common idea; if it emphasizes method, choose a project that allows clear controls and multiple trials. Ask yourself: can I run at least three trials? Can I measure outcomes with a ruler, scale, stopwatch, or simple chemical test strips? Parents and teachers should support planning (helping buy materials, schedule workspace time, and review safety) but let the student design the procedure and record the data — judges look for student ownership of the work. When in doubt, choose a project that teaches the scientific method clearly rather than one that simply produces an expected result.
Safety, Materials, And Time Management Checklist
Before starting, create a detailed checklist that covers materials, safety, timing, and documentation. Materials: list every item and estimate cost, noting which items require adult purchase or special handling (scalpels, strong acids, compressed gas, live animals). Safety: identify hazards (sharp tools, heat sources, biological cultures) and write an adult-supervised plan for any risky steps; include safe disposal instructions for chemicals or biological materials and confirm school rules about live organisms. Personal protective equipment to consider: safety goggles, gloves, closed-toe shoes, and a clean workspace. If a project involves soil or microbes, plan sterilization or containment to avoid contamination.
Time management: create a project calendar with milestones — research and question finalization (week 1), materials acquisition (week 2), pilot test (week 3), formal trials (weeks 4–6), data analysis (week 7), poster creation and rehearsals (weeks 8–9). Allow buffer time for failed trials and repeat runs. Testing equipment: run a dry run of measurement tools (scales, pH strips, timers) and practice the exact measurement technique to minimize measurement error. Documentation: maintain a lab notebook with dated entries, photos of each trial, and raw data tables; document sources for any purchased kits or special protocols so your method is reproducible. Common pitfalls to avoid: unclear controls, inconsistent sample sizes, and changing procedures mid-study without noting why.
Project Ideas By Category: Biology And Environmental Science
- Plant growth and soil types: Compare growth rates or biomass across sand, potting mix, and compost using identical pots, light, and watering schedules. Measure height, leaf count, and dry weight at the end of the experiment to provide multiple dependent variables.
- Water filtration: Build simple filters (sand, charcoal, gravel) and measure turbidity or particle reduction using visual comparison charts, coffee filters, or basic particulate settling measurements. Record initial and final observations and consider running multiple cycles.
- Microbe growth on surfaces: Swab common household or classroom surfaces, plate on appropriate agar (only with teacher approval), and compare colony counts after a set incubation period. If agar plates are not allowed, use safe, non-pathogenic kits or indicator strips to demonstrate relative cleanliness.
- Acid rain effect on seedlings: Apply diluted vinegar or pH-adjusted water in controlled amounts and monitor seedling health, leaf color, and growth rate. Use a control group watered with neutral pH water and document concentration and frequency of applications.
- Pollinator preference and plant traits: Set up potted flowers or colored paper models and record visitor numbers, time of day, and weather conditions. Use consistent flower types and spacing to limit confounding variables. This can include counting visits over multiple days and summarizing data as averages and percent differences.
Each of these projects uses clear independent and dependent variables with repeatable measurement methods. Students should record measurements in standardized tables, use basic statistics like mean and percent change, and include clear photos or diagrams of the setup. Many projects can be expanded with simple follow-up tests (e.g., testing different fertilizer levels in plant experiments or adding an extra filter layer in water tests) to show depth. When writing the title and abstract, briefly include the phrase middle school science fair project ideas to signal focus and make the project easily discoverable in searches and summaries.
Step-By-Step Project Plan Template (Question, Hypothesis, Method, Data)
Question: State a concise, testable question that identifies the independent and dependent variables. Example: “Does light color affect basil growth?” Hypothesis: One-sentence prediction that links cause and effect. Example: “Basil grows faster under blue light than red light because blue wavelengths are more effective for photosynthesis in young seedlings.” Method: Provide a numbered materials list (including quantities), a step-by-step protocol with controls defined, sample sizes (e.g., n = 5 pots per condition), trial frequency, and data collection schedule. Include how you will randomize or rotate samples to reduce bias and how you will calibrate instruments.
Data: Choose units and measurement frequency (e.g., height in centimeters every three days). Use tables for raw data and plan two types of graphs (line graph for growth over time, bar graph for final average comparisons). List the calculations you’ll perform (mean, standard deviation if comfortable, percent change) and how you will decide whether results support the hypothesis. Analysis: Compare results to predictions, discuss sources of error (measurement variability, environmental fluctuations), and suggest at least one realistic follow-up experiment that addresses a limitation. Record all unexpected events in the notebook and explain how they were handled.
Presentation Tips, Common Judging Criteria, And How To Stand Out
Create a clear, visually organized poster with sections labeled: Title (concise and descriptive), Question, Hypothesis, Method, Results (tables and graphs), Conclusion, and Next Steps. Use large fonts for section headings, numbered steps for methods, and photographs with short captions showing setup and key trials. Prepare a two-minute verbal summary that covers why you chose the question, how you tested it, the main result, and what it means; have a 30–60 second “hook” to grab attention.
Practice answering likely questions: Why did you choose your sample size? How did you control variables? What errors could affect your results? Judges commonly score projects on scientific thought (clear hypothesis and method), thoroughness (repeated trials and quality data), creativity (original approach or question), and clarity (well-organized presentation). Bring printed raw data and a lab notebook for judges who want more detail, and plan a simple, safe demo if the fair allows live demonstrations (e.g., showing a small filtration setup or quick data-collection step). To stand out: highlight one unexpected finding and explain how it shaped your interpretation, show that you used basic statistics to support conclusions, and demonstrate enthusiasm and ownership — judges respond to students who can explain every part of their process.