
Teachers and parents often ask for simple science fair projects for 5th grade that a child can complete with safety and clarity. This guide lists 15 easy projects and shows how to pick one. It gives step-by-step plans, clear hypothesis templates, and display tips. It helps a student choose a project they can finish on time and explain to judges. Use this guide to compare project ideas, plan experiments with repeated trials and simple measurements, and prepare a display and short report that communicates results clearly. The examples here emphasize cheap, readily available materials, straightforward math, and ways to keep the project doable for a 5th grader while still demonstrating scientific thinking.
Key Takeaways
- Choosing the right science fair project for 5th grade involves matching the difficulty to the student’s skills and selecting safe, common materials.
- Simple projects like the Baking Soda Volcano or Plant Growth with Light clearly show one variable for easy testing and explanation.
- Writing a clear hypothesis that names the independent and dependent variables helps the student focus and predict outcomes effectively.
- A neat display board with photos, labels, and a well-organized report improves judges’ understanding and highlights the project’s results.
- Following a week-by-week timeline ensures the project is completed on time, with steps like gathering materials, running trials, and preparing the presentation.
- Safety is essential; using non-hazardous materials and seeking teacher approval when needed ensures a safe and successful science fair experience.
How To Choose The Right 5th Grade Science Fair Project
A parent or teacher should match project difficulty to the student’s skills. They should pick science fair projects for 5th grade that use safe, common materials. Start by asking the child what excites them—plants, magnets, food science, weather, or electricity—and narrow ideas to two or three favorites. The child should pick one topic and make a simple question written as, “Does changing X affect Y?” The question should let the child test one variable; for example, “Does the amount of light affect plant height?” The project should finish in the time available and should include a realistic number of trials (for many simple projects, three trials is a good minimum). The project should follow school safety rules: avoid hazardous chemicals, open flames, or complex electrical setups unless supervised. Choose projects that show clear, measurable results (height, time, distance, mass, count) rather than subjective outcomes. Finally, consider materials cost and cleanup: projects that use everyday household items and minimal waste are easier to manage and safer for younger students.
15 Kid-Friendly Project Ideas With Quick Materials Lists And Simple Steps
- Plant Growth with Light: materials, pots, soil, seeds, lamp. Steps, plant seeds, vary light, measure growth weekly. Tip: use identical pots and soil, label each pot, measure height in cm and record on a chart.
- Baking Soda Volcano: materials, vinegar, baking soda, clay. Steps, build cone, add reactants, record eruption height. Tip: run repeated trials with the same amounts to measure consistency; collect photos and note reaction time.
- Saltwater Density Float: materials, eggs, salt, cups. Steps, add salt by amount, test whether egg floats. Tip: try different salt concentrations and graph the minimum salt needed to float an egg.
- Paper Airplane Distance: materials, paper, tape, ruler. Steps, fold designs, throw from same spot, record distances. Tip: control wind by testing indoors or using the same thrower and technique for each trial.
- Homemade Barometer: materials, jar, balloon, straw. Steps, assemble, mark straw, watch pressure changes. Tip: keep a daily log and compare readings with local weather changes.
- Static Electricity vs. Materials: materials, balloon, fabric samples. Steps, charge balloon, test attraction. Tip: test multiple materials and rank them by strength; use small lightweight items like paper bits for a clear measure.
- Sugar Crystal Growth: materials, sugar, water, jar, string. Steps, heat solution, suspend string, watch crystals. Tip: note solution temperature and cooling time, take photos at the same interval each day to track growth.
- Water Filtration Model: materials, sand, gravel, cloth, bottles. Steps, layer media, pour dirty water, compare clarity. Tip: measure turbidity by visual scale (very cloudy, cloudy, clear) or weigh filtered water to check yield.
- Paper Chromatography: materials, filter paper, markers, cup. Steps, draw line, dip edge in solvent, watch separation. Tip: compare different ink brands or colors and record which components separate fastest.
- Solar Oven: materials, box, foil, plastic wrap. Steps, build box, focus sun, measure temperature. Tip: use a simple thermometer and test cooking a marshmallow or melting chocolate, with adult supervision and safety in mind.
- Yeast and Sugar Fermentation: materials, yeast, sugar, bottle, balloon. Steps, mix, seal with balloon, watch inflation. Tip: vary sugar amounts or temperature and record balloon circumference as a proxy for gas produced.
- Magnetic Strength Test: materials, magnets, paperclips, ruler. Steps, measure hold distance for each magnet. Tip: test magnets of different sizes and shapes, and plot maximum distance that picks up a paperclip.
- Tooth Decay Simulation: materials, eggs, sodas, water. Steps, soak eggs, observe shell changes. Tip: photograph eggs daily, weigh them before and after, and compare effects of different drinks.
- Insulation Comparison: materials, containers, insulation types, thermometer. Steps, heat, measure cooling rate. Tip: use identical containers, pour the same hot water amount, record temperature every five minutes, and graph cooling curves.
- Simple Circuit Light Test: materials, battery, wire, bulb. Steps, connect circuit, test series vs parallel. Tip: test brightness with different numbers of bulbs or battery voltage and compare how circuits affect current flow (qualitatively).
Each idea uses safe items when handled correctly and with adult guidance. Each idea shows one clear variable and suggests simple measurements to make results objective. For every project, include a brief materials list with quantities, a numbered method that a classmate could repeat, and a data table format—date, trial number, measurement, and notes—to make results easy to analyze.
Designing A Clear Hypothesis, Method, And Simple Experiment Plan
A student should write a short hypothesis that predicts one outcome. Example: “If the plant gets more light, then it will grow taller.” The hypothesis should name the independent variable (amount of light), the dependent variable (plant height), and the predicted result. Use a template: “If I change [independent variable], then [dependent variable] will [increase/decrease/change] because [brief reasoning].” The method should list materials with quantities, include numbered steps in enough detail that another student could repeat them, and specify how to keep other variables the same. The experiment plan should include a control group and state how many trials to run (three or more recommended where practical). Decide on precise measurement tools (ruler, thermometer, stopwatch) and units (cm, °C, seconds) and include an example data table in the notebook. The plan should describe how to analyze results (average of trials, range, simple graph) and how to check calculations. Anticipate common problems (seed mold, blown paper airplanes, inconsistent pours) and note troubleshooting steps, such as drying soil between overwatering or using a tape marker for consistent launch points. This level of planning helps the student stay organized and shows judges clear thinking.
Creating A Neat Display Board And Short Written Report That Judges Notice
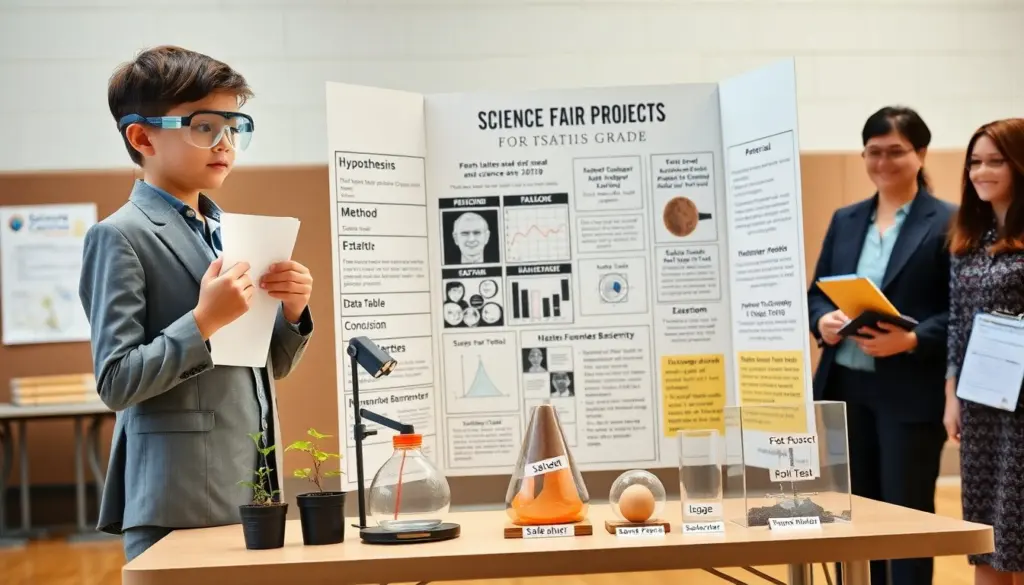
A clean board helps a student stand out. The board should show the title, hypothesis, method, data, and conclusion in separate, labeled sections. Use large, readable fonts for headings and short bullet points for each section. Place photos or drawings of the experimental setup and each major step to give visual evidence. Include a clear data table and one graph (bar graph, line graph, or pie chart) that best shows the main result—label axes, units, and a brief caption. The written report should run one to two pages, be typed or neatly handwritten, and include an introduction that explains why the question matters, a materials list, a numbered method, a results section with a table and graph, and a concise conclusion that answers the hypothesis. Add a short reflection and one idea for how to extend the experiment (future question). Proofread for simple grammar and spelling, and consider laminating or mounting the report on colored paper for durability. Practice a one-minute summary that explains why the project matters, the main result, and what was learned; this helps the student confidently greet judges and answer follow-up questions.
Presentation, Safety, Materials Checklist, And Week-By-Week Timeline
A student should prepare a materials checklist that matches the project and includes quantities, estimated cost, and any safety notes (sharp objects, breakables, food items that may spoil). The checklist should also note which items are reusable and which need replacements. Use basic safety gear—safety glasses, gloves, and adult supervision for any experiment involving heat, pressure, or live organisms—and get teacher approval early for those items. During the presentation, begin with the one-minute summary, then guide judges through the board: show hypothesis, highlight the method, point to the data and graph, and state the conclusion and what was learned. Anticipate two or three likely judge questions and practice short answers (How many trials? What would you change?). The timeline below is a practical starting plan that keeps the project manageable: Week 1: pick project, write question and hypothesis, gather materials, and sketch the method; Week 2: build setup and run the first set of trials, start a data notebook and take photos; Week 3: complete remaining trials, analyze data, make a graph, and draft the written report; Week 4: create the display board, finalize the report, rehearse the one-minute summary and Q&A, and prepare a materials bag for the fair. Leave extra days for reruns, equipment replacement, or troubleshooting, and bring spare materials and a printed copy of the report to the fair. Following this schedule and checklist helps ensure a well-prepared, safe, and polished science fair project for 5th grade.